Iberian ham is a culinary delicacy that is highly appreciated all over the world. However, when it comes to starting a ham at home, it can be a bit intimidating if you are not familiar with the preparation process. In this article I will explain the necessary steps in an easy-to-understand manner.
I don't expect you to become a professional ham cutter or a master ham slicer, but by following a few simple tips, you will get more out of your Serrano or Iberian ham.
Preserving Spanish ham at home
Before explaining which side to start with, regardless of whether it is a leg of Iberian or Serrano ham, it is important that you know what the first steps are once you have received it.
You should always remove all the packaging, cotton and greaseproof paper, which are fine for transport, but ideally you should let the ham breathe as soon as possible. If you leave it in the cover for too long, this will create humidity and can lead to bad smells and unwanted flavours.
Once the ham has been stripped of any covering, place it in a place where it is out of direct sunlight and not near external heat sources, such as domestic heaters or electrical machinery that gives off heat.
Once you've started it, follow the same premises, only this time cover the side of the Iberico ham where you've started to cut it with food film or simply drop a clean kitchen towel over it. A very good idea is to scrape some of the fat from the side of the ham with the blunt side of a knife and spread it, as if it were butter on the side of the cut, which will keep the meat of the ham more moisturised.
How to start the Iberico ham
This part is very simple and only depends on how long you are going to consume the ham leg.
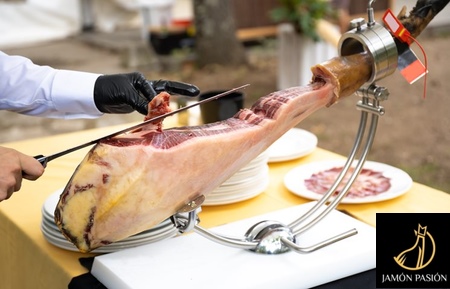
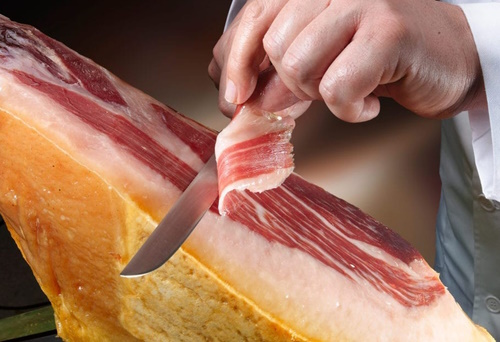
In celebrations or restaurants where the ham is going to be consumed on the same day, you usually start with the widest part, the part that shows if you put the hoof face upwards. This area is called "Maza" and is the juiciest area, with the greatest infiltration of fat and the highest nuances of flavour and aroma.
The opposite side called "babilla", which is shown with the hoof facing downwards, has a lower proportion of fat, the meat is leaner, therefore it dehydrates earlier and its flavour is not as pronounced.
This implies that the Iberico ham on the "babilla" side will be drier. As the ham at home follows its maturation process and dries out over time, if you start with the juiciest part, "la maza", and you eat it slowly, when you turn it over, that area will be drier than desired. For this reason, at home, where a ham can easily take more than a month to eat, it is best to start with the "babilla", so that when you have to turn it over, the wider and juicier area will still be perfect.
How to clean a cured ham
This part is very important. Going back to the celebrations where a ham is consumed in a matter of hours, you can see that it is cleaned completely, removing all the rind at once.

At home I do not recommend this practice, as the rind of the spanish ham is essential to preserve the stupendous qualities of the Iberian pork. Ideally, you should clean it as you eat it. Only leave about 3 cm clean.

If you clean the ham leg at the beginning, the only thing you will achieve is that the edible outer fat will oxidise and pick up bad smells and flavours and that the ham will dry out even before its time.
And remember, you should never remove the white outer fat either. Only remove the most superficial fat, that which has oxidised colours or impurities.
You will see that boneless Iberian hams are presented clean, with just enough external fat, but these hams are sold vacuum-packed and once they are ready, they should be kept in the fridge, well wrapped in cling film.
Buying Spanish ham online
Whether you have decided on an acorn-fed iberico ham or a good Serrano ham, I advise you to take into account how many people you have at home and how long it will take to eat it so that you can decide which part of the ham you want to start with.
A quality ham will never go bad if it is kept in optimum conditions, but over the weeks the meat will become tougher, so the ideal eating time should not exceed 4 or 5 weeks. If it takes longer, there is no problem in relation to health, as you should bear in mind that the hams are in the drying sheds for up to 4 years and once they are sent out, they have a best before date of between 6 months and a year.
I hope I have cleared up some of your doubts and that you can get more out of your next Iberian ham by following all these specifications.
We are waiting for you in our Online Spanish Ham Store to continue making you enjoy.
